

- Define your “Why”. Why do you want to become an AirBNB host and embark on this journey? This is for you to know – it is private, but keep it recorded somewhere so you can review your goals and remind yourself why you became an AirBNB host.
- Check Local Ordinance Laws for Hosting Guests in your home or rental property. Get a copy of local laws for rental properties and read through them and understand them! You may be required to get licensing or to record your property with your local government. It really depends on the laws in your area.
- Analyze comparable rental properties in your area and check out nightly rates offered by retail hotels/motels in your area to understand pricing models. As a baseline, find out how much a one room/one bath apartment goes for in your area or ask property managers how much they rent their homes for. Start there and play with pricing according to your cash flow needs and margins.
- Build out the pricing model you want to use for guest stays by night, week, and month. Determine the discounts you want to give your guests for longer stays or special pricing you want to set for special calendar dates (like Holidays, local events, etc.) Guest needs are different and it is better to have thought through all the options you want to make avaialble to your listing schedule to better accomodate guests visiting your area. This is also the time to consider the duration of stays you are comfortable with and the restrictions you want to set on booking criteria.
- Review other AirBNB listings in your area through the AirBNB traveler feature. Switch to a traveler and search for places you think are comparable to your listing, have similar features, amenities, and offerings you will be providing. Review how they present their listing, how they showcase the space, how they describe their listing details, and how they present photos of their listing.
- Start building out your listing details. If nothing else, begin with the basics for your listing, such as location (highlight the pros of the location), what type of space you are making available to guests (number of rooms, number of bathrooms, and other areas in your house or property that your guest can use such as common areas, kitchen, etc).
- Walk through your property and start taking photos. You do not need a fancy camera and cell phones work perfectly, but make sure the areas are clean, orderly, and well lit! Shoot your photos during the day and turn on all the lights in the area and take multiple photos from different angles in the room(s), and focus on taking horizontal landscape style shots of the space. Avoid using your flash. Your goal is to try to provide your guests with a “Virtual” feel for your space. Next to location, the photos you take are going to be the singular deciding factor used by guests when they choose your location, and guests will review every photo to post to help them visualize your space. Once you have completed taking interior photos, take photos of the exterior, the approach to the property, and parking spaces.
- Add descriptions to all of your photos. This is the meta data that helps to describe what guests are looking at and it gives you an opportunity to better explain certain features of your listing.
- Once you have uploaded all of your photos to your listing, go back in and edit the order of the photos to help tell a visual story of your space. I like to show the main bedroom photos first, move to the bathroom, then move to the common areas guests have access to – such as family rooms and kitchens, and then even highlight the exterior of the property, decks, landscape, and parking spaces.
- Focus on details of your property that make it unique and make it inviting to guests to stay with you. Describe the furniture, the types of appliances you have, amenities such as wifi, smart tv’s, smart devices, pools or hot tubs, and even the views that are available to your guests.
- REVIEW your photos and your listing. Look at your listing the same way a guest would. Jump out of the edit mode and review and scrutinize all of your photos and their order. Are the rooms clean and tidy? Is everything organized? If anything is out of place – now is the time to correct it and re-take your photos.
Add your House Rules
To help guests understand your expectations, add rules for your space, including details like restrictions on smoking, pets, or parties.
Set your calendar
To make sure you only get reservations you can host, update your Airbnb calendar with your availability. You can also get specific about how much advance notice you need or how far in advance guests can book.
Pick your prices
What you charge is always up to you but we have tools to help you match your prices with demand and custom pricing controls for times like weekends and specific seasons.
Store your valuables
If you have jewelry, passports, or other valuables, consider storing them in a locked room, closet, safe, or storage facility. Or you can leave them with family or friends.
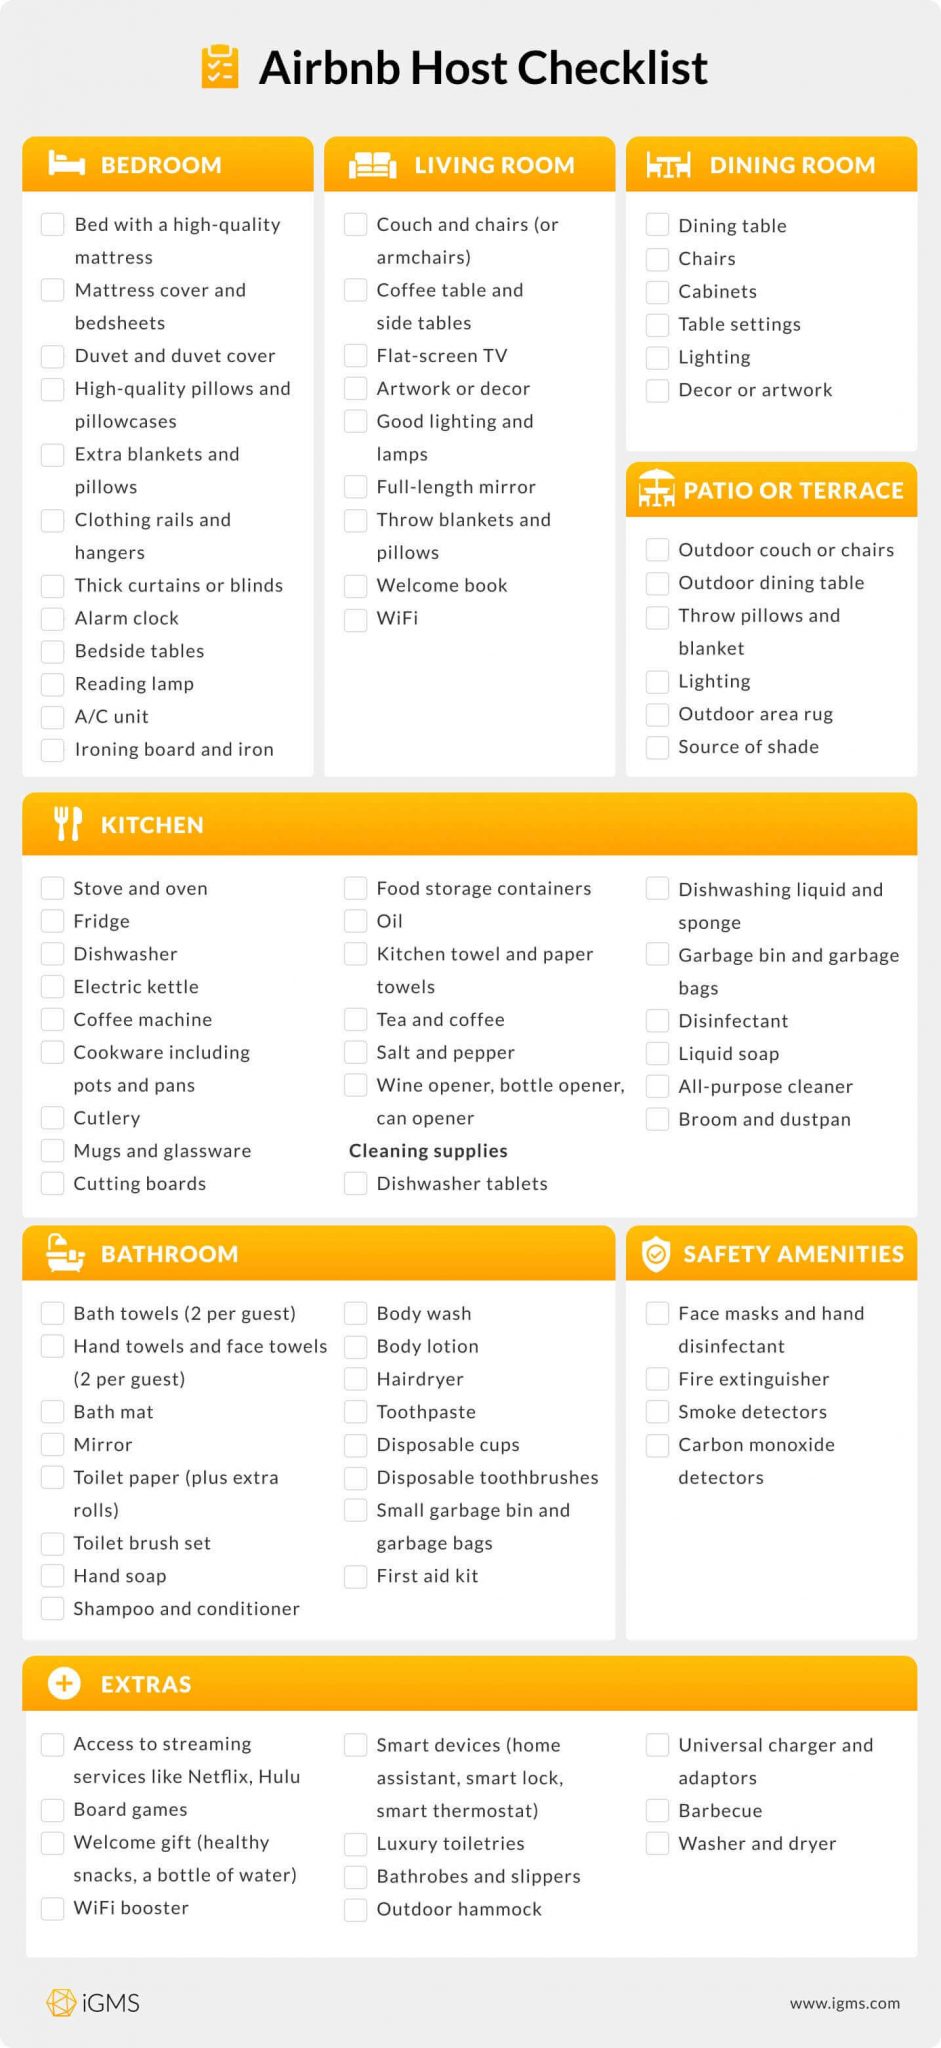
Stock up on essentials
To help guests feel at home, consider providing amenities like soap, shampoo, toilet paper, bed linens, and towels. It can’t hurt to have extras on hand as well.
Provide check-in details
Be prepared to check guests in and out, or recruit friends or family to help. If no one will be around, you can always use a lockbox, electronic lock, or other form of self check-in.
Add the “finishing touches”
Guests love the little details. A house manual with instructions and tips can help orient guests. A bottle of wine or a small gift can also make guests feel extra welcome, but definitely isn’t required.
